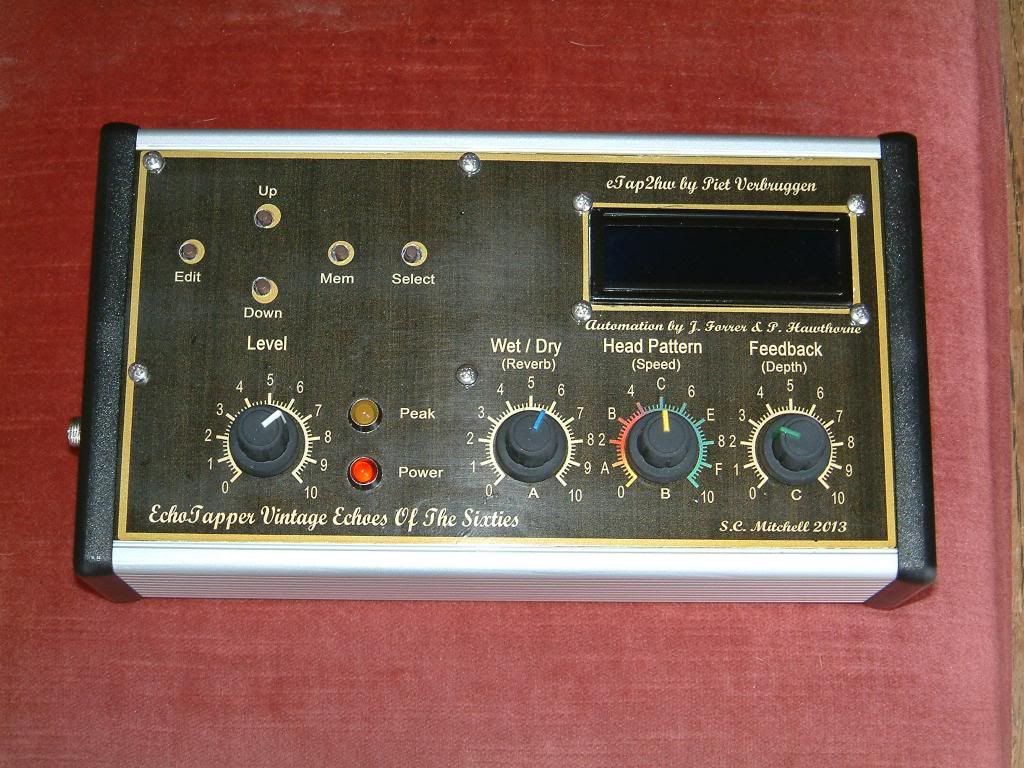
My new Automation Etap2hw
Well it's finally working to my satisfaction after a lot of research and maths to sort out the FET pre-amplifier section. I think it's very close to a proper triode transfer curve now. I love the sound, it can go from very clean, through warm to a bit of a snarl really just before the Clip light starts to kick in. The input level works beautifully from 1 through 8.5 giving the above described sounds as you go.
Many thanks are due to Piet not just for his great design work but also the way he encouraged me through the build. Thanks also to Philip Hawthorne and to Johan Forrer they both helped to get me started and unselfishly provided me with Arduino code and circuit diagrams. Philip especially has been great to communicate with and his extensions to Johan's original software have worked out well.
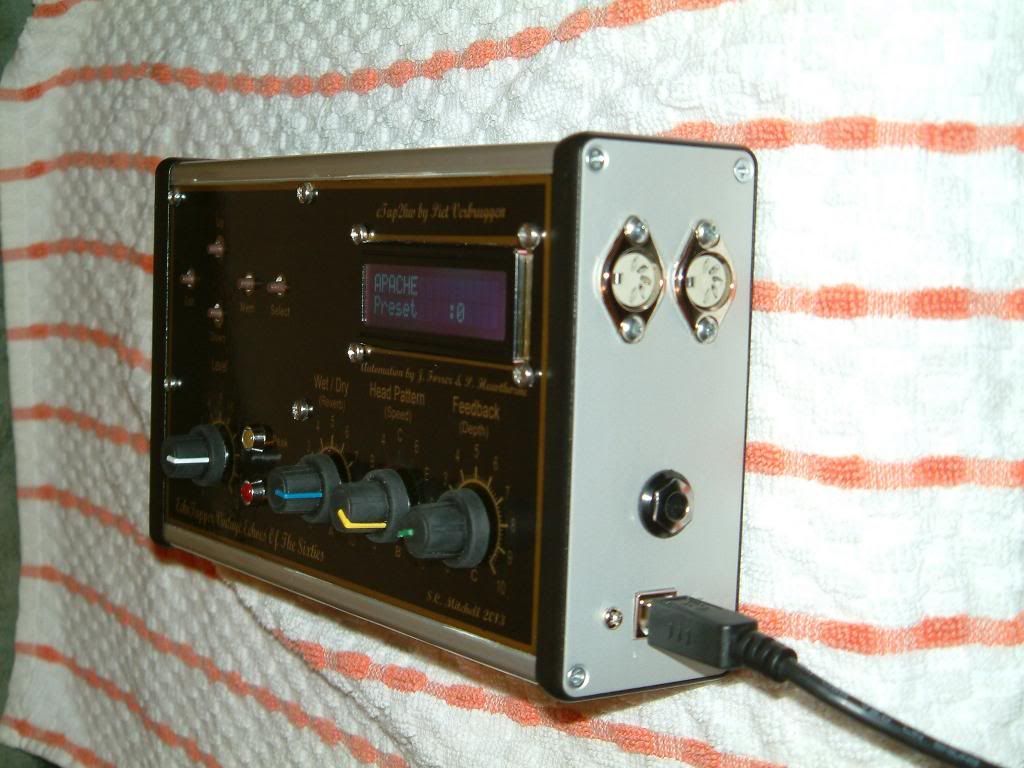
I have added a stereo jack connector to allow patch UP/DOWN via a footswitch as well as the normal front panel buttons. Also added MIDI connectors and a panel mounted USB-B connector so that sketches can be downloaded without stripping down the unit.
Steve Mitchell
So thanks to all involved, all I need to do now is to remember how to play my guitars after this long diversion.
Many thanks are due to Piet not just for his great design work but also the way he encouraged me through the build. Thanks also to Philip Hawthorne and to Johan Forrer they both helped to get me started and unselfishly provided me with Arduino code and circuit diagrams. Philip especially has been great to communicate with and his extensions to Johan's original software have worked out well.
I have added a stereo jack connector to allow patch UP/DOWN via a footswitch as well as the normal front panel buttons. Also added MIDI connectors and a panel mounted USB-B connector so that sketches can be downloaded without stripping down the unit.
Steve Mitchell
So thanks to all involved, all I need to do now is to remember how to play my guitars after this long diversion.